This tutorial was written by Miranda on 6/23/14. Any
similarities to any other tutorials is purely coincidental.
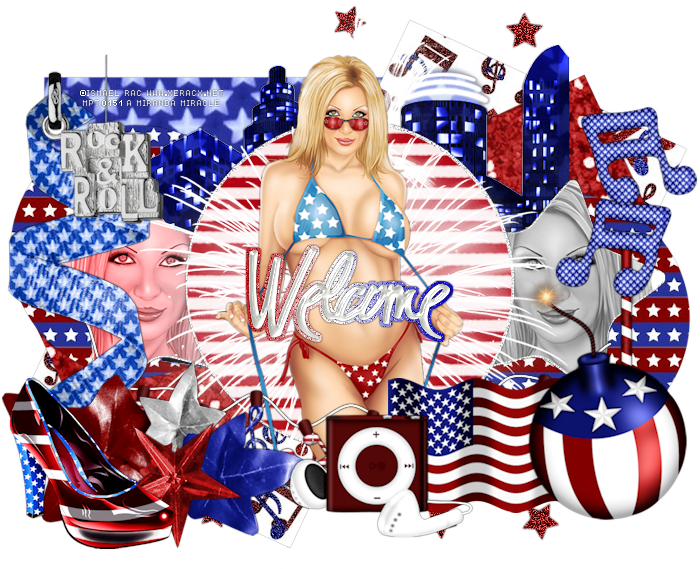
NOTE: If you get confused at any time, you can use my tag
for reference!
SUPPLIES USED:
Xero
- Radiance - My settings HERE
Font
I used for name is Mf Queen Leela
Open Template & Av Template
Minimize the Avatar Template for now
Delete Copyright layer
Copy/Paste WP_SE_PP3 as a new layer
Drag
it down so it's just above the '1' layer
Blend
Mode - Overlay
I
merged these layers together:
Merge
'2' with '8' (Should be named '2')
Merge
'3' with '9' (Should be named '3')
Merge
'4' with '10' (Should be named '4')
Merge
'5' with '11' (Should be named '5')
Merge
'6' with '12' (Should be named '6')
Merge
'7' with '13' (Should be named '7')
With
your '2' layer selected:
Selections
- Select all
Selections
- Float
Selections
- Defloat
Copy/Paste
WP_SE_PP4 as a new layer
Selections
- Invert
Hit
Delete
Deselect
Delete
the '2' layer
Add
a drop Shadow:
I
used:
V&H
- 0
Opacity
- 100
Blur
- 3
Color
- Black
Repeat
this for layers '3' through '6', using different papers each time (or you can
flood fill on a new layer with colors or gradients
Copy/Paste
your tube as a new layer
Duplicate
Image
- Flip Horizontal (or mirror)
Place
one over '7' on the right and the other over the left
Merge
them together
On
Layer '7':
Selections
- Select All
Selections
- Float
Selections
- Defloat
New
Raster Layer
Flood
Fill with a gradient of choice, or mine, link above.
Selections
- Invert
Hit
Delete on the tubes layer
Deselect
Change
the Blend Mode on the tubes layer to Soft Light
Merge
Diamond Curve Left and Diamond Curve Right
Adjust
- Add/Remove Noise - Add Noise:
Random
100%
Monochrome
Checked
Drop
Shadow - Same as above, except change blur to 2
Copy/Paste
WP_SE_BUILDING as a new layer
Resize
80%
Drag
down until it's just above the '2' layer
Arrange
how you like it
Drop
Shadow
Copy/Paste
WP_SE_WINGEDHEART as a new layer
Resize
- 50%
Move
down to the bottom right corner so just the top part of the heart is showing
Drop
Shadow
Copy/Paste
WP_SE_MUSICPLAYER as a new layer
Resize
40%
Place
to the left of the heart with the bottom part hidden
Drop
Shadow
Copy/Paste
WP_SE_BRANCH as a new layer
Resize
60%
Place
on the right part of layer 7
Drop
Shadow
Copy/Paste
WP_SE_FLOWER6 as a new layer
Resize
40%
Place
in the bottom left corner
Drop
Shadow
Copy/Paste
WP_SE_FLOWER5 as a new layer
Resize
40%
Drag
down below the other flower layer, to the right a little
Drop
Shadow
Copy/Paste
WP_SE_FLOWER9 as a new layer (should be between flower 6 and flower 5)
Resize
60%
Place
over layer '7'
Drop
Shadow
Copy/Paste
your tube as a new layer
Resize,
if needed
Place
in center of banner
Effects
- Plugins - Xero - Radiance
Find
your own settings or download mine above.
Add
Drop Shadow to tube
On
the inner border layer:
Selections
- Select All
Selections
- Float
Selections
- Defloat
New
Raster Layer
Flood
fill with same gradient as before
Adjust
- Add/Remove Noise - Add Noise:
Random
100%
Monochrome
Checked
Delete
original border layer
For
the outer border:
Selections
- Select All
Selections
- Float
Selections
- Defloat
New
Raster Layer
Flood
fill with a color of choice
I
used #829c34
Delete
original border layer
For
the Diamond Border
Add
noise (Same settings as above)
Drop
shadow
Add
your name and copyright info and that's it!
FOR
THE AVATAR:
I
just repeated the steps with the banner, not adding any extra elements except
the tube
On
'6', I flood filled with the gradient
Add
tube and resize if needed (I copied from banner and resized)
Add
Name or Letter
Don't
forget the copyright info.