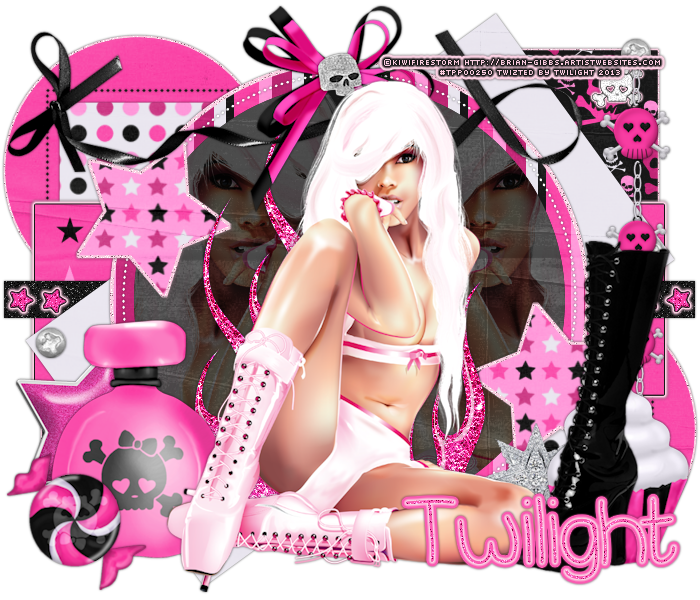
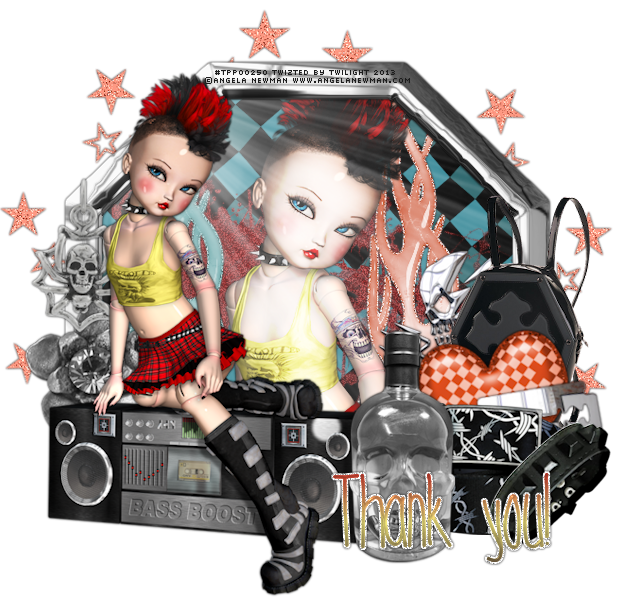
I had fun with this tube by Mystic Soul Art. You can get it at ThePspProject
Tuesday, November 12, 2013
Monday, November 11, 2013
VeryMany - Pink-Black - Snags
Some snags for ya.
Tube by VeryMany get it HERE
ScrapKit: "Pink is the New Black" by Abstract Creations. You can get it at ThePspProject
Enjoy :)
Monday, June 10, 2013
PinupToons - Beach Party Extras
Wednesday, June 5, 2013
Kiwifirestorm - Abra Extras
Thursday, May 23, 2013
New CT tag - KiwiFireStorm
Wednesday, May 22, 2013
New CT Tag - Delicate-Pearl
Tuesday, May 21, 2013
New CT Tag - Ricky Fang
Friday, February 22, 2013
Keith Garvey - Cupcake Snags
Wednesday, February 13, 2013
Joahannah von Frankenstein - Tears Snags
New snags! Hope you like them!
Artist used: Joahannah von Frankenstein. You can find her tubes at The PSP Project!
and the snags...
Saturday, February 9, 2013
Keith Garvey - My Sweet Love SNAGS
I have some new snags for ya. Valentine themed.
I used the awesome PTU kit by Kristin from Toxic Desirez called "My Sweet Love" which you can purchase at The PSP PROJECT
I hope you like these!
Thursday, February 7, 2013
Angela Newman Snags
Here are some Angela Newman snags for ya. Hope you like them!
You can get this tube and more by Angela Newman at THE PSP PROJECT
Monday, February 4, 2013
Tag Showoff - An Evening of Romance
NEW VALENTINE'S TAG!
I used an AWESOME new kit called "An Evening of Romance" by Jackie's Jewels, which you can buy at AIL. It's well worth it! I loved using this kit!
Tuesday, January 22, 2013
Gothica - PTU
This
tutorial was written by Twilight on 1/22/13. Any similarities to any other
tutorials is purely coincidental.
NOTE:
If you get confused at any time, you can use my tag for reference!
SUPPLIES:
Tube is by Elias Chatzoudis which I got from MPT. He now has his own shop HERE
PTU Kit "Gothic Romance" by StacieCakes. Find it on her blog HERE
Open
a new image 700 x 700
Copy/Paste
"SC_GRE_Wire" as a new layer
Copy/Paste
"SC_GRE_Frame4" as a new layer
Magic
Wand - Click inside the frame
Selections
- Modify - Expand - 4
Copy/Paste
"SC_GRP6" as a new layer under the frame
Selections
- Invert - Delete
Deselect
Copy/Paste
your tube as a new layer
Resize,
if needed
Take
your freehand selection tool and select around the bottom part of the tube
that's overlapping the bottom part of the frame
Hit
delete
Drop
Shadow the tube
V&H
- 0
Opacity
- 100
Blur
- 3
Color:
Black
Copy/Paste
"SC_GRE_Wire3" as a new layer
Resize
50%
Place
at the bottom of the frame
Drop
Shadow
Copy/Paste
"SC_GRE_WordArt1" as a new layer
Place
over the bottom of the frame
Drop
Shadow
Copy/Paste
"SC_GRE_Heart13" as a new layer
Resize
70%
Drag
behind the tube layer to the left
Drop
Shadow
Copy/Paste
"SC_GRE_Bow3" as a new layer
Resize
50%
Image
- Free Rotate - Rotate 20 degrees to the left (all layers unchecked)
Place
in the top left corner behind the tube layer
Drop
Shadow
Copy/Paste
"SC_GRE_Blade" as a new layer behind the tube layer
Resize
50%
Image
- Free Rotate - Rotate to the left 20 degrees
Place
in the bottom right corner (partially behind the wordart)
Drop
Shadow
Copy/Paste
"SC_GRE_BottleCap3" as a new layer behind the blade
Move
it up a little
Drop
Shadow
Copy/Paste
both pills as a new layer
Drag
them behind the wordart
Place
them over the bottom of the blade
Drop
Shadow
Copy/Paste
"SC_GRE_Rose6" as a new layer
Resize
50% TWICE
Place
under the pill layers, over the blade
Drop
Shadow
Crop/Resize
Add
your name & copyright info
You're
done!
Saturday, January 19, 2013
Platinum Club - FTU
This
tutorial was written by Twilight on 1/19/13. Any similarities to any other
tutorials is purely coincidental.
NOTE:
If you get confused at any time, you can use my tag for reference!
SUPPLIES:
Tube
by Tim Lowery. You can buy it from AIL
Open
a new image 700 x 700
Copy/Paste
"PC_frame7_JD" as a new layer
Magic
Wand - Select inside the frame
Selections
- Modify - Expand - 4
Copy/Paste
"PC_paper011_JD" as a new layer under the frame
Selections
- Invert -Delete
Copy/Paste
your tube/closeup as a new layer
Arrange
under the frame
Hit
delete
Deselect
Effects
- Xero - Radiance on the tube (default settings, or you can hit random til you
find one you like)
Add
a drop shadow to the frame
V&H
- 0
Opacity
- 100
Blur
- 3
Color:
Black
Copy/Paste
"PC_paper010_JD" as a new layer at the bottom layer
Layers
- Load/Save Mask From Disk - Find a mask you like and hit load
Merge
Group on the mask
Copy/Paste
"PC_glitter1_JD" as a new layer above mask layer
Resize
80%
Drop
Shadow
Back
to the top layer
Copy/Paste
"PC_glitterbranch3_JD" as a new layer
Resize
70%
Move
to the right side of frame and give it a drop shadow
Copy/Paste
"PC_flowers1_JD" as a new layer
Resize
60%
Image
- Mirror (or flip horizontal)
Place
over the glitter branch
Drop
Shadow
Copy/Paste
"PC_tag3_JD" as a new layer
Place
on the bottom left of frame
Drop
Shadow
Copy/Paste
"PC_pillow3_JD" as a new layer
Image
- Free Rotate - 10 degrees to the right
Move
to the bottom right corner of frame
Drop
Shadow
Copy/Paste
"PC_pillow1_JD" as a new layer
Image
- Free Rotate - 10 degrees to the left
Place
on the right of pillow3
Drop
Shadow
Copy/Paste
"PC_pillow2_JD" as a new layer
Place
in front of both other pillows
Drop
Shadow
Copy/Paste
"PC_flower5_JD" as a new layer
Resize
70%
Place
on the top left corner of frame
Drop
Shadow
Copy/Paste
"PC_butterfly3_JD" as a new layer
Resize
70%
Place
at the top center of the frame
Drop
Shadow
Copy/Paste
tube as a new layer
Resize
if needed
Place
on the right side of tag
Copy/Paste
"PC_poshhandbag1_JD" as a new layer
Resize
70%
Place
in front of the left side of the pillows
Drop
Shadow
Copy/Paste
"PC_poshhandbag2_JD" as a new layer
Resize
70%
Place
behind the white bag to the right
Drop
Shadow
Copy/Paste
"PC_martini1_JD" as a new layer
Resize
50%
Place
on the right side of pillows, behind the red bag
Drop
Shadow
Crop/Resize
Add
your name/copyright info and you're done!
Labels:
ail,
ct,
ftu,
scraps by jessica,
Tim Lowery,
tutorial
Be Mine - PTU
This
tutorial was written by Twilight on 1/18/13. Any similarities to any other
tutorials is purely coincidental.
NOTE:
If you get confused at any time, you can use my tag for reference!
SUPPLIES:
Tube
of Choice. I’m using the art of Eugene Rzhevskii. I got this tube at MPT.. He now sells his tubes at PFD
PTU
ScrapKit "Hot Stuff" by Jen's Sweet Temptations
You
can buy it at LollipopsNGumdrops
Valentine
Template #1 by Taggers Inc. Get it here
Gradient
of Choice
Penta.com
- Color dot
Open
the template
Shift+D
Close
the original
Delete
the credits and background layers
Merge
the top pink and bottom pink rectangle layers
Selections
- Select All
Selections
- Float
Selections
- Defloat
Copy/Paste
"Paper 10" as a new layer
Selections
- Invert - Delete
Deselect
Delete
the pink rectangles layer
Merge
together the bottom black rectangle and the top black rectangle layers
Selections
- Select All
Selections
- Float
Selections
- Defloat
New
Raster Layer
Flood
Fill with #ff86cf
Adjust
- Add/Remove Noise - Add Noise:
Random
- Monochrome Checked - 100%
Deselect
Drop
Shadow
Delete
the black rectangle layer
On
the middle black circle
Selections
- Select All
Selections
- Float
Selections
- Defloat
New
raster layer
Flood
fill #c4db07
Adjust
- Add/Remove Noise - Add Noise (same as above)
Drop
Shadow (same as above)
Delete
the black middle circle
On
the middle pink circle,
Selections
- Select All
Selections
- Float
Selections
- Defloat
Copy/Paste
"Paper7" as a new layer
Selections
- Invert - Delete
Deselect
Delete
the pink circle
On
the middle black rec
Selections
- Select All
Selections
- Float
Selections
- Defloat
New
Raster layer
Flood
fill with #e40000
Deselect
Add
Noise (same as above)
Drop
Shadow (same as above)
Merge
together the top and bottom black circles
Selections
- Select All
Selections
- Float
Selections
- Defloat
Copy/Paste
"Paper2" as a new layer
Selections
- Invert - Delete
Deselect
Drop
Shadow
Delete
the black circles
Merge
the dashes together
Selections
- Select All
Selections
- Float
Selections
- Defloat
New
Raster layer
Flood
Fill with #e40000
Deselect
Adjust
- Add/Remove Noise - Add Noise (Same as above)
Drop
Shadow
Delete
the original dashes layer
On
the center pink rectangle
Selections
- Select All
Selections
- Float
Selections
- Defloat
Copy/Paste
"Paper6" as a new layer
I
resized and duplicated, then lined the two papers up, but you don't have to if
you don’t want
Selections
- Invert - Delete
Deselect
Delete
the center pink rec
On
the heart layer
Selections
- Select All
Selections
- Float
Selections
- Defloat
New
Raster layer
Flood
fill with a gradient to match the kit or tube (with angle at 90 degrees)
Penta.com
color dot - default settings
Copy/Paste
tube/closeup as a new layer
Arrange
over the gradient
Selections
- Invert - Delete
Deselect
Select
all the gradient heart
Selections
- Modify - Expand - 4
New
raster layer under the gradient
Flood
fill with the same gradient, changing the angle to 0
Deselect
Drop
Shadow
Copy/Paste
"Snowflake2" as a new layer
Resize
30%
Place
on the top left corner of the center rectangle
Drop
Shadow
Copy/Paste
"Balloons" as a new layer
Place
on the right side of template
Drop
Shadow
Copy/Paste
"Rose Gift" as a new layer
Resize
60%
Place
on the bottom right of template
Drop
Shadow
Copy/Paste
"Letter" as a new layer
Resize
70%
Drag
behind the rose gift layer and place to the left of the gift
Drop
Shadow
Copy/Paste
"Kiss2" as a new layer
Resize
30%
Place
between the letter and gift (see my tag)
Drop
Shadow
Copy/Paste
"Globe" as a new layer
Resize
40%
Place
on the bottom left corner of template
Copy/Paste
"BFly1" as a new layer
Resize
40%
Place
inside the top left circle
Drop
Shadow
Crop/Resize
Add
your name and copyright info and you're done!
Thursday, January 17, 2013
Tag Showoff
A few new tags to show off. Pretty proud of 'em :)
The first two are using Zindy S.D. Nielsen art.
The next, using the art of Jose Cano
And last one using the art of Zlata M
Subscribe to:
Comments (Atom)


